Meta Business Manager Setup
Table Of Contents
Meta Business Manager Setup:
Step-by-Step Guide
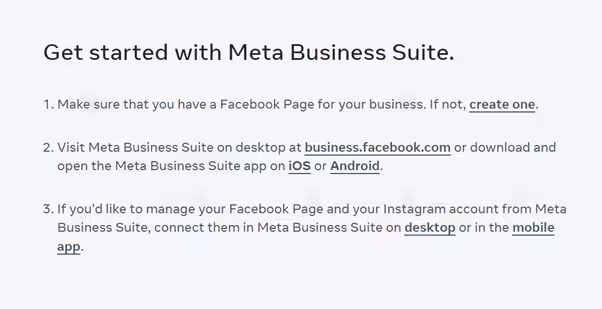
Setting up Meta Business Manager is a great way to keep all your Facebook and Instagram business assets organized in one place. Here’s a simple guide to help you set it up, even if you’re doing it for the first time!

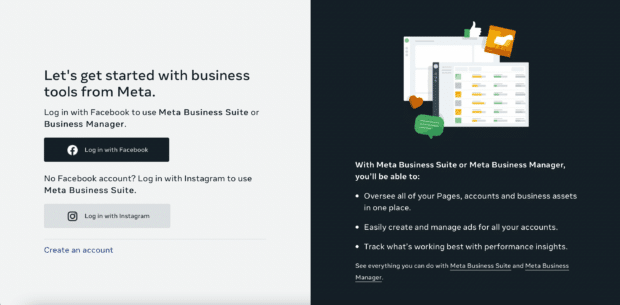
1. Create Your Meta Business Manager Account

- Head to business.facebook.com.
- Click on “Create Account” and fill in your business name, your full name, and your business email.
- Once done, click “Submit” to create your account.
2. Add Your Facebook Page

- After logging in, go to Business Settings.
- Under Accounts, click on Pages.
- Select Add and choose:
- Add a Page (if you already own it),
- Request Access to a Page (if someone else owns it), or
- Create a New Page (if you want to start fresh).
3. Link Your Instagram Account
- While still in Business Settings, find Instagram Accounts under the Accounts tab.
- Click Add and log in with your Instagram credentials to link your business profile.
4. Add Your Ad Account

- Go to Business Settings and find Ad Accounts under the Accounts tab.
- Click Add, then choose:
- Add an Ad Account (if you already have one),
- Request Access (if you need access to another account), or
- Create a New Ad Account (to start a fresh one for your business).
5. Invite Team Members
- Under Users, click on People and select Add.
- Enter your team member’s email and assign them a role, like Employee (basic access) or Admin (full access).
- This allows your team to help manage different aspects like posts, ads, or customer responses.
6. Set Up Payments for Ads
- Navigate to Business Settings and find Payments under Accounts.
- Click Add Payment Method, enter your card details, and you’re ready to run ads!
7. Connect Your Pixel
- To track activity on your website, go to Data Sources and select Pixels.
- Click Add, name your pixel, and follow the steps to integrate it into your website.
- This helps you track how visitors interact with your site after seeing your ads.
8. Assign Assets and Roles
- Under Business Settings, you can assign different assets (like Pages, Ad Accounts, or Pixels) to your team members.
- For each asset, decide who gets admin control or simply access to manage and view.
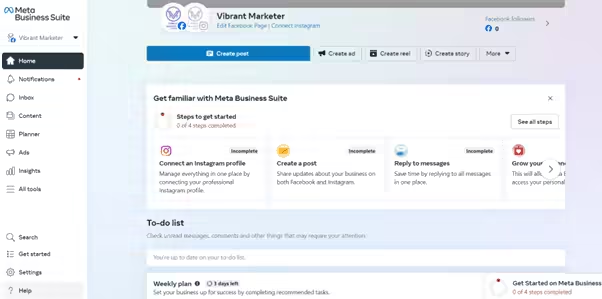
9. Start Exploring Insights and Ads
- Once everything is set up, explore the Insights tab to track your business performance on Facebook and Instagram.
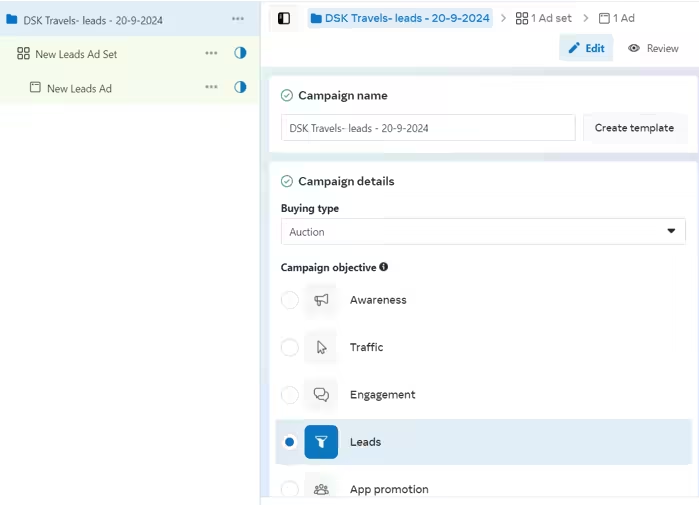
- You can also start creating ads, boost posts, and monitor their success all within Meta Business Manager.
In Conclusion
Setting up Meta Business Manager is straightforward and helps you stay on top of your Facebook and Instagram business pages, ads, and insights. It’s a great way to streamline everything in one place, giving you more control and making it easier to manage your social presence as your business grows!
Share this post
Recent Posts


